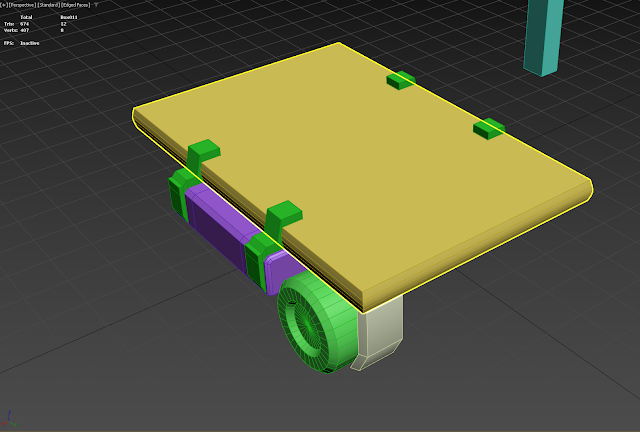
This week was the start of building the base assets.
I went ahead and blocked out then refined the mesh, making sure to split the asset into the equal parts needed in order to fulfil the animation requirement.
Which meant I had to split the base, lifting section, 2 light arms and swing handles into separate assets.
When reaching out to my contact, they talked about how the workflow sometimes require modelling with ngons as hard surface modelling is easier to unwrap using ngon workflows, additionally it is easier to add weight faced normals to a mesh.
I started off with some ngon modelling, but then decided to triangulate the mesh, because auto triangulation could have gone wrong and resulted in incorrect shading on the model itself.
After the finalisation, I went around the model and started optimising and getting efficient optimisation edge loops to preserve my tri budget, because in theory, the more budget I had to play with, the more I could include on the model in terms of mesh decals.
There isn't much of an issue diverging too much from the original concept, as long as the base forms of the model are there, there wouldn't be problems adding additional surface details in terms of decals.
One problem that was encountered fairly early on was test runs of the rig, which resulted in the export of the model reverting to inches by default.
It confused me at first because I was modelling in centimetres, but didn't realise why it was converting to inches, but then tweaked the export options to export as centimetres.
Environment:
These pieces are all modular, being at 300x100, 100x100, 300x300 and 100x300 respectively, meaning they all snap in to place in unreal engine.
Mesh Decal Baking plane:
In preparation for the baking phase, I created a decal atlas for the normals, of which I would be assigning to the rig. This consists of some insets, bolts, handles vents, covers, etc. Which would add to the workflow and create some extra depth through these smaller details on the model


No comments:
Post a Comment